One of the number one questions I get asked about is how my nails are always so cute and nicely painted, while having three kids. And the number one reason I never share is because I feel like I am not an expert on this subject. I am not a trained nail technician, and the way I apply my gel polish may not be entirely correct so I don’t want to hear criticism if it’s incorrect.
The truth is: I own a gel nail light. My mom is a hair dresser and I have access to stores that only certified cosmetologists are allowed into. (which is where a good portion of my colors are from). As a mom of three, there isn’t much time to go to the nail salon, so I make sure I can do my own at home!
SUPPLIES:
Cuticle Remover
Cuticle Pusher & Nipper
Nail File & File Block
Nail Clippers
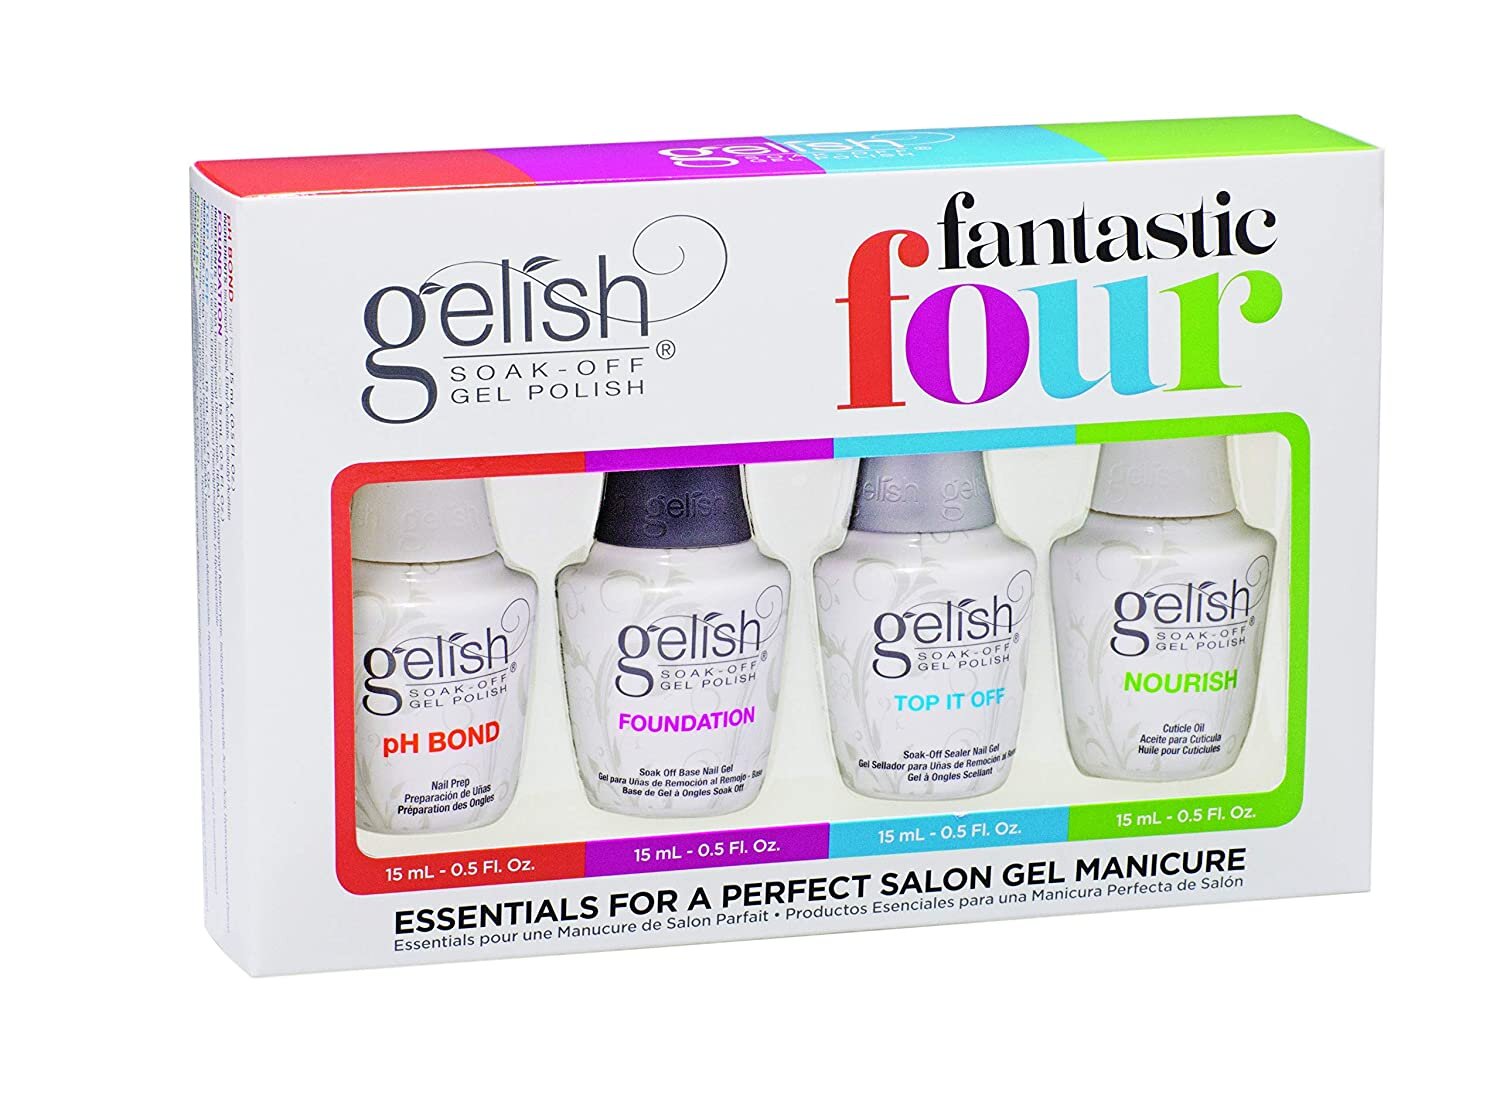
Gelish pH Bond, Foundation, Top Coat & Nourish gel
Rubbing Alcohol & absorbent Stripes (I actually get waxing sheets and cut them into small strips)
The Process:
Begin by using the cuticle remover, and apply it to the base of your nails. Using the cuticle pusher, gently push back the cuticles. Use the cuticle nipper very carefully and clear away the excess dead cuticle. The idea is not to remove the healthy cuticle, mainly because it will hurt and make you bleed.
Use a nail file and block to create the desired nail shape. [Fun Fact: when filing the tip of your nail, it is not a good idea to saw back and forth at the nail. Only go in one direction.]
Using the same file and block, rough up the surface of the nail. This will help to ensure your manicure lasts longer and has a good surface to adhere to {but don’t go too hard or deep}.
Apply a layer of the pH bond. Let cure in the gel light for 5-10 sec.
Apply a very fine layer of the Gelish Foundation, making sure to have it completely cover the nail and also the tip top of the nail. Then let cure in the gel light for 30 sec. It’s important to note that if you make a mistake and get color or the base or top coat on your skin, a q-tip dipped in rubbing alcohol can clean it up quick.
Now comes the color. Depending on desired pigment apply 1-3 light coats of your color and let cure for 30 secs for each coat.
Finally apply the top coat. Let cure for 30 sec under the gel Light.
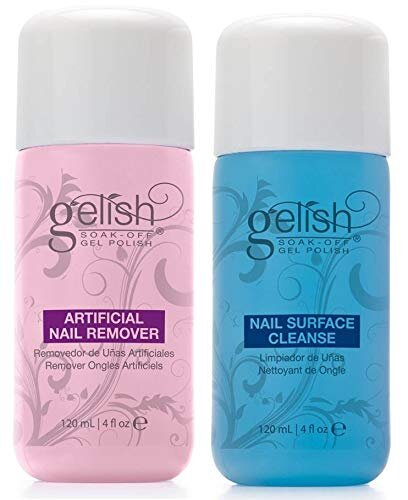
Once it is all set, using the stripe and some rubbing alcohol, remove the access and polish each nail. They should be all set and you can touch them immediately.
It’s important to note that if you make a mistake and get color or the base or top coat on your skin, a q-tip dipped in rubbing alcohol can clean it up quick.
So, as I said, I’m not an expert on this. This is merely what I do, and I’m sure there are things I do wrong. I have pretty oily nail beds, so my manicures only last about a week-week & a half before they start to peel up.
I have set up links to all my favorite products on Amazon! Just click on the photos below! And also linked a quick hyperlapse of me painting my nails. :) Hope this helps and please let me know if you have any questions!


